Week 3 Summary
For Week 3 of the HPS program, the assignment was to create a CAD model of the chosen product. The first version is meant to include at least a few of the plastic injection molding characteristics, so as to increase the ease of which more manufacturing constraints can be introduced. For each component made, features where the AIY Parts would be incorporated into the product were supposed to be highlighted, as well as potential improvements that could be made. Product Advisors for each HPS Team are encouraged to give the HPS participants additional feedback on specific changes that can aid in the product's manufacturability regarding plastic injection molding.
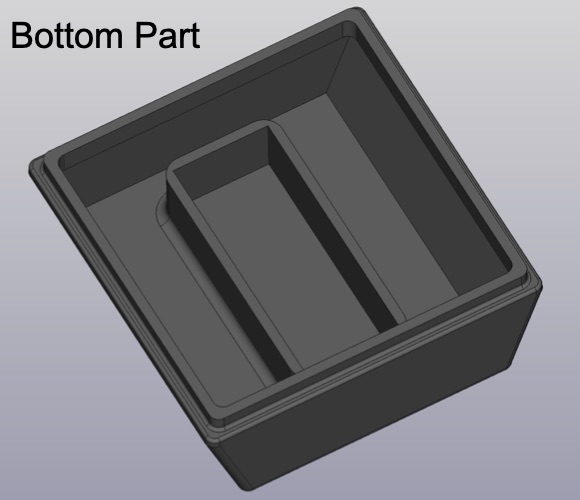
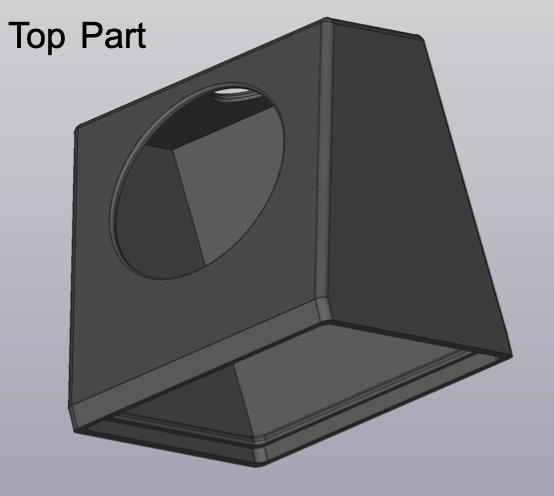
Prototype (v0)
TThe first version of my product consisted of only two components which would come together with a snap fit. The software I was using at the time unfortunately did not allow me to assemble the two components easily, but it is not difficult to see how the parts would come together. Unfortunately, the PCB functionality is neglected here, and space would definitely be limited if the AIY Kit parts were put inside of here. Furthermore, my product advisor Dante Gutierrez instructed me to use screws instead of a snap fit to attach the parts since it would be easier to account for tolerances later. Nevertheless, below are photos of the v0 parts.